Ground-mounted solar panels are a fantastic option for homeowners who want to harness the power of the sun but can’t, or don’t want to, put panels on their roof. They offer a level of flexibility and efficiency that rooftop systems can’t always match, from optimal angle positioning to easier maintenance. This guide will walk you through the entire process of installing a ground-mounted solar system. While a DIY approach is certainly possible, especially for smaller systems, you should always hire a licensed professional to handle some steps—particularly the electrical work—to ensure safety and compliance with all local regulations.
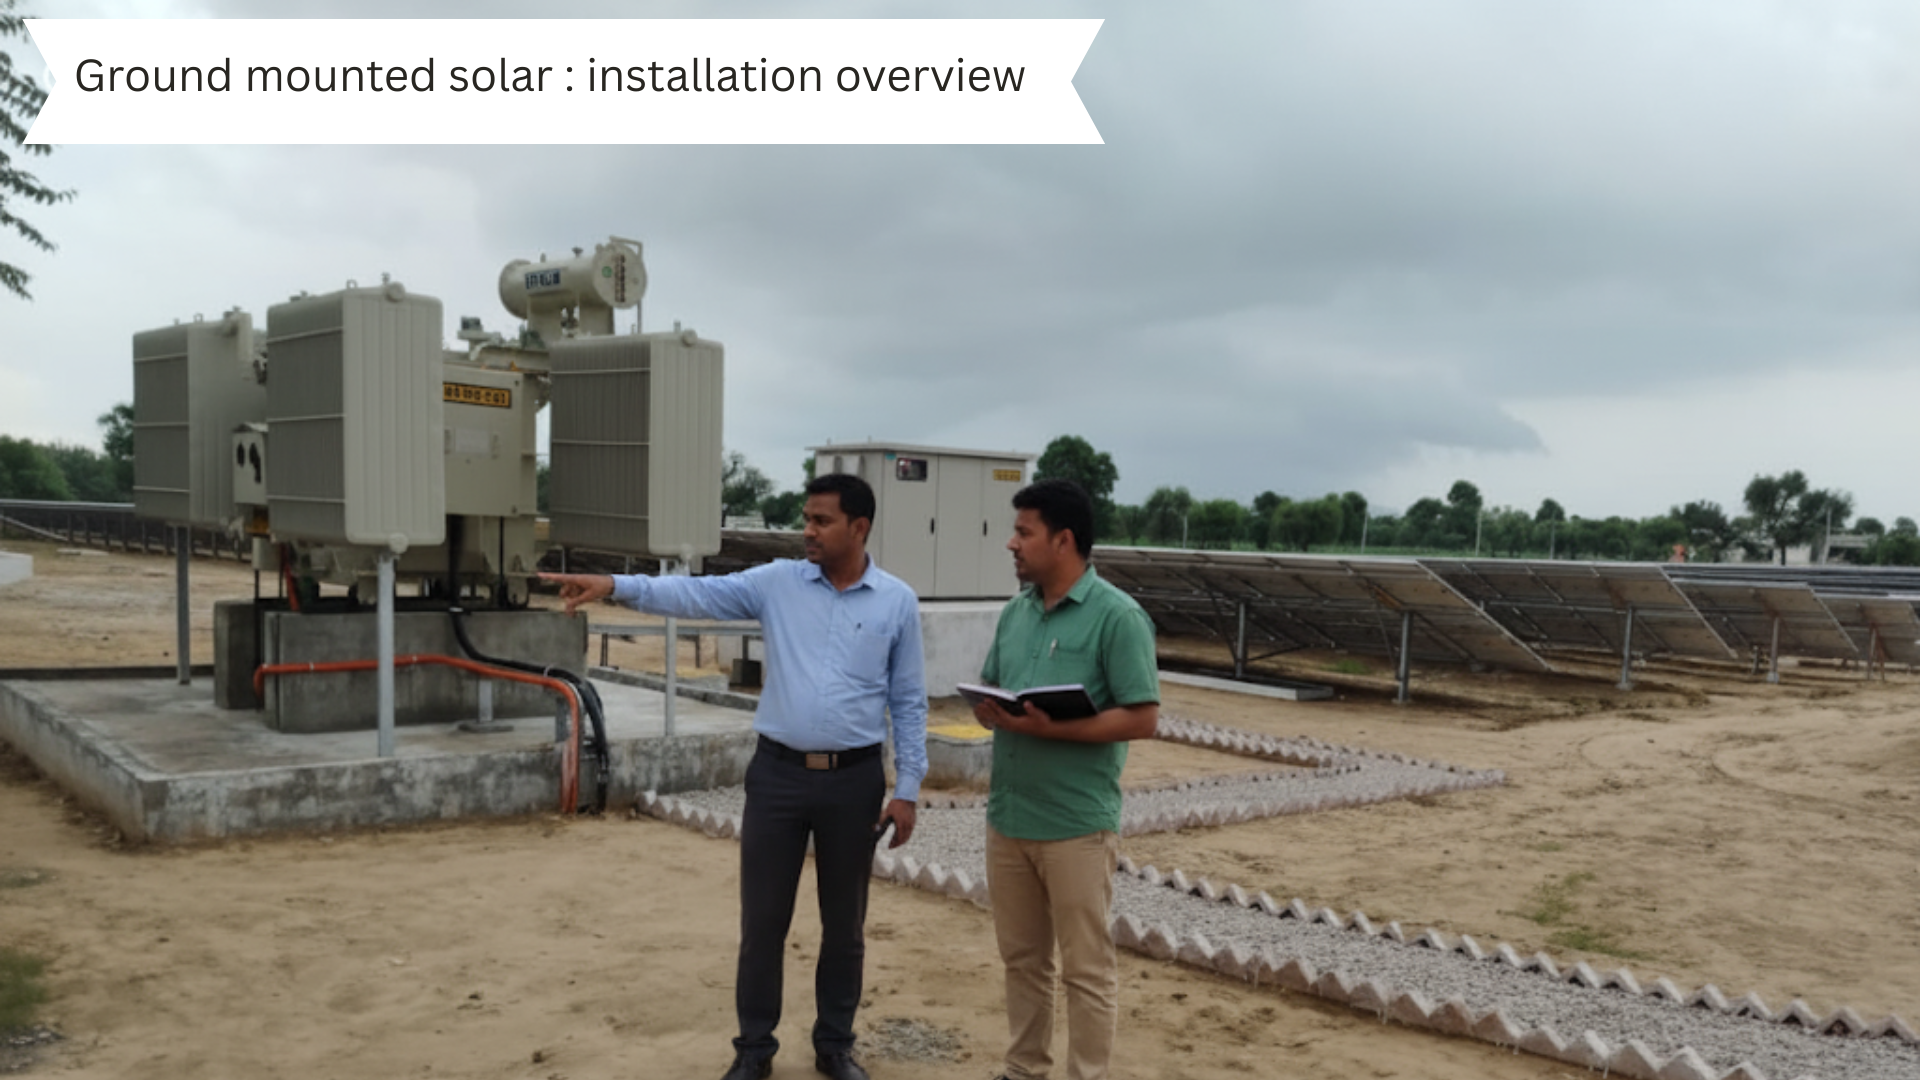
Step 1: Planning and Site Assessment for Ground Mounted Solar Panels
Before you buy a single panel or dig a single hole, thorough planning is non-negotiable. This stage determines the success and efficiency of your entire system.
- Assess Your Energy Needs: Look at your past electricity bills to understand your average monthly energy consumption in kilowatt-hours (kWh). This will help you size your system correctly so you produce enough power to meet your needs without overspending on an oversized system.
- Find the Best Location: A ground-mounted solar system is all about location. You need a spot with maximum, unobstructed sunlight throughout the day.
- Sunlight Exposure: The ideal location is a south-facing area (in the Northern Hemisphere) with no shading from trees, buildings, or other structures. Walk the area at different times of the day to see where shadows fall.
- Soil Conditions: The type of soil on your property will influence the type of foundation you can use. Sandy, rocky, or clay soils all require different footing solutions.
- Space Requirements: A ground-mounted system requires significant space. A general rule of thumb is about 4 to 5 acres for a 1-megawatt system, but for a residential system, this can be much smaller. Remember to leave space between rows to prevent self-shading and for maintenance access.
- Proximity to Your Home: The closer the solar array is to your home’s main electrical panel, the better. Longer distances mean more expensive wiring and a greater potential for energy loss.
Step 2: Choosing the Right Foundation and Racking for Ground Mounted Solar Panels
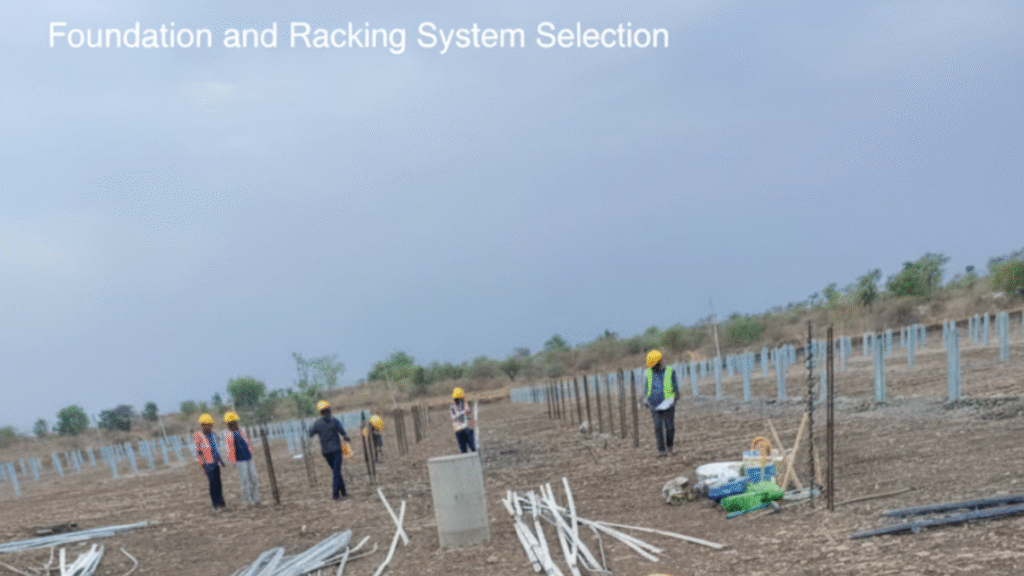
The foundation is the anchor for your entire solar array. A sturdy, properly installed foundation is essential to withstand wind, snow, and the test of time.
Types of Foundations:
- Ground Screws: These are large, helical screws that installers drill directly into the ground. They install quickly, have minimal impact on the landscape, and you can use them in most soil types. They are a popular choice for DIY and residential installations.
- Driven Piles: Using specialized equipment, installers drive these steel posts deep into the ground. This is a very robust and common method for large-scale solar farms but is less common for a typical residential project.
- Concrete Footings: This involves digging holes and pouring concrete to create a solid pier for each support post. It’s a highly durable and permanent option, ideal for areas with soft or sandy soil.
- Ballasted Systems: These non-penetrating systems use heavy concrete blocks or frames to hold the panels in place. They are perfect for areas where you can’t dig into the ground, like a landfill or a rocky field, as they don’t require any digging.
The Racking System: This is the metal frame that holds the solar panels. It connects to the foundation and holds the panels at the optimal tilt angle for your location. The racking can be a fixed-tilt system, which is the most common and cost-effective, or a more advanced tracking system that automatically follows the sun’s path to maximize energy production.
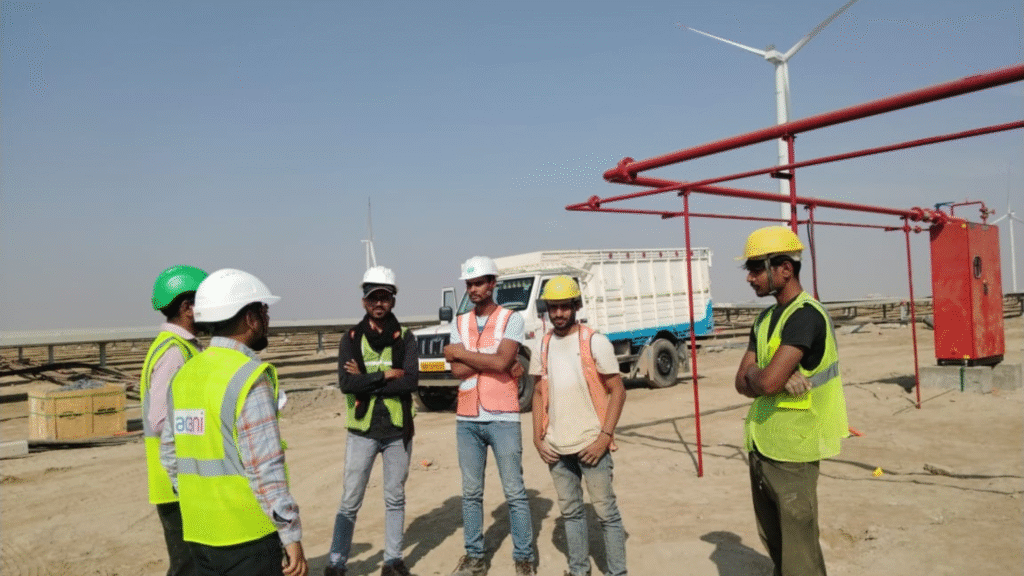
Step 3: Trenching and Electrical Wiring

- Locate Utility Lines: Before you dig, call your local utility line marking service (like 811 in the U.S.). This free service will mark the location of all underground utility lines on your property, preventing a dangerous and costly accident.
- Digging the Trench: The trench must be deep enough to comply with your local electrical codes, typically 18 to 24 inches, to protect the conduit from future damage. A trenching machine can make this job much faster and easier.
- Laying Conduit: Once the trench is ready, lay rigid PVC electrical conduit inside. This conduit protects the wires from moisture and physical damage.
- Pulling Wires: Pull the DC wires from the panels to the inverter and the AC wires from the inverter to your main electrical panel through the conduit. Use the correct gauge wire as specified in your system’s design to prevent voltage drop and ensure efficiency.
Step 4: Assembly and Installation

With the foundation and trenching complete, you can begin the assembly of the system itself.
- Build the Racking System: Follow the manufacturer’s instructions to assemble the metal racking, securing the vertical posts, horizontal rails, and cross braces.
- Mount the Panels: Carefully lift each panel and secure it to the racking using the provided clamps. Ensure the panels are aligned correctly and are properly secured to the frame.
Set the Tilt Angle: Ground-mounted systems allow you to choose an ideal tilt angle. Your system designer will have calculated this for you based on your latitude to maximize your year-round energy production.
Step 5: Electrical Connections and Commissioning
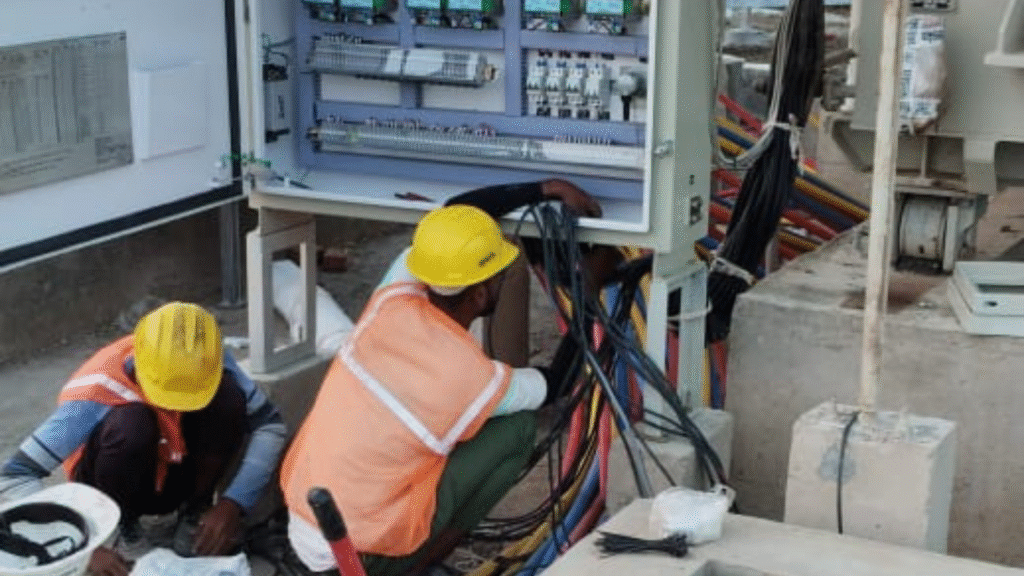
This is the final, most crucial step. You should have a certified electrician perform all electrical work who is familiar with solar systems.
- Wiring the Array: The electrician connects the solar panels to each other in a series or parallel circuit (or a combination) to build the correct voltage and current for your system.
- Inverter Installation: The electrician installs the inverter, which converts the DC electricity from your panels into the AC electricity your home uses.
- Connecting to the Electrical Panel: The electrician then connects the inverter to your home’s main electrical panel. They typically install a new circuit breaker to handle the incoming solar power.
- Testing and Final Inspection: After all connections are made, your electrician conducts a thorough safety and performance test. Your utility company will then perform a final inspection and give “permission to operate” (PTO). Once you have PTO, you can turn on your system and start generating your own clean power!
Ground Mounted vs. Rooftop Solar: A Quick Comparison
| Feature | Ground Mounted Solar | Rooftop Solar |
| Placement | Can be placed anywhere with good sun exposure. | Limited to the roof’s size and shape. |
| Cost | Typically higher due to racking and trenching. | Generally lower due to less structural work. |
| Efficiency | Often more efficient due to optimal tilt angle. | Efficiency can be limited by roof angle and shading. |
| Maintenance | Easier to access for cleaning and repairs. | More difficult and potentially dangerous to access. |
| Scalability | Easy to expand by adding more panels. | Limited by the available roof space. |
| Permits | May require more complex building permits. | Generally simpler to permit. |
Frequently Asked Questions (FAQs)
Q1: How long does a ground-mounted solar panel system last?
A: Most solar panels are designed to last for 25-30 years or more. The inverters and other electronic components may need to be replaced after 10-15 years. The racking and foundation, if properly installed, can last for over 50 years.
Q2: Can I install ground-mounted panels in a small backyard?
A: Yes, you can. While they require more space than rooftop systems, you can install a smaller system to fit your space. The key is to ensure the area gets enough sunlight and is not shaded.
Q3: Is a professional installer necessary?
A: We strongly recommend hiring a licensed electrician for all electrical connections and system commissioning. While some parts of the installation can be done as a DIY project, the electrical work is complex and carries significant safety risks if not done correctly.
Q4: How do I clean ground-mounted solar panels?
A: The main advantage is accessibility. You can easily clean the panels from the ground using a long-handled brush and a hose with plain water. You can even hire a professional cleaning service that specializes in solar panels.
Conclusion
Installing a ground-mounted solar system is a significant project that offers great rewards. While you can handle some of the physical labor yourself, the electrical and safety aspects require a professional’s expertise. By following this guide and taking each step with care, you’ll be well on your way to enjoying the many benefits of solar energy for decades to come.