


Are you tired of watching your electricity bill climb higher every summer? Do you wish there was a way to harness the abundant sunlight of India to power your home and save money? If so, you’re in the right place.The Government of India has launched a groundbreaking initiative that promises to change the energy landscape for millions. As a central pillar of the new solar policy India is championing, the “Pradhan Mantri Surya Ghar: Muft Bijli Yojana” is more than just a scheme; it’s a revolution. It aims to install rooftop solar systems in one crore households, providing them with up to 300 units of free electricity every month.
But with any major government program, the first questions are always: “Is this for me?” and “How do I even start?”
This comprehensive guide will walk you through everything you need to know. We’ll break down the eligibility criteria in simple terms and provide a detailed, step-by-step walkthrough of the online application process. Let’s unlock your path to energy independence.
First, What Exactly is the PM Surya Ghar Yojana?
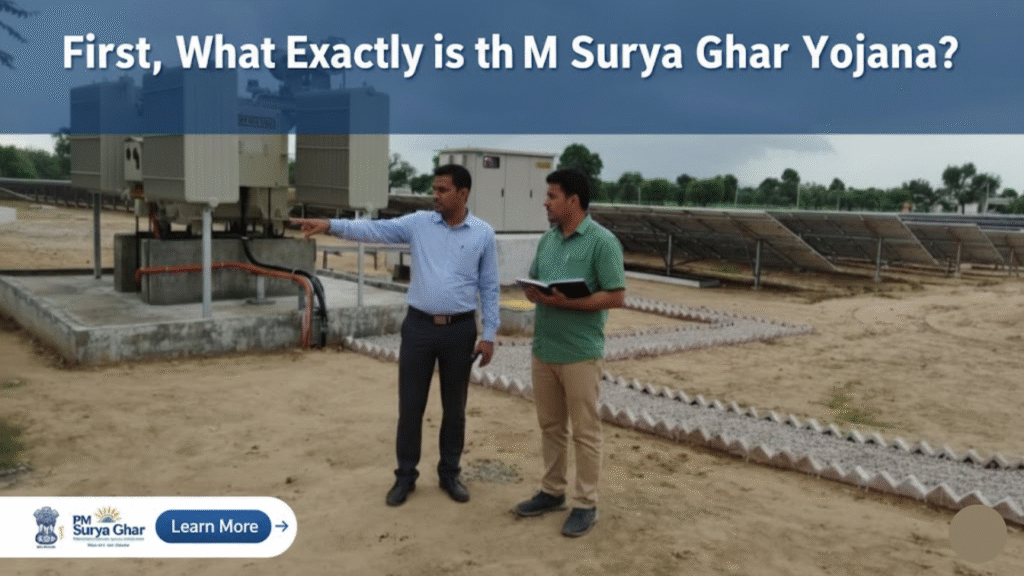
Before we dive into the ‘how,’ let’s understand the ‘what.’ The PM Surya Ghar Yojana is a centrally sponsored subsidy scheme designed to make rooftop solar power accessible and affordable for residential consumers. It’s the most ambitious program under the new solar policy India has unveiled, directly targeting the financial burden of electricity bills on middle-class and lower-income families.
The core objectives are:
- To provide financial assistance (subsidy) directly into the bank accounts of eligible households.
- To promote clean energy and reduce the nation’s carbon footprint.
- To empower citizens by making them energy producers (or ‘prosumers’).
- To ensure a seamless experience through a dedicated National Portal for applications, vendor selection, and subsidy claims.
Now, let’s address the most important question.!(https://i.imgur.com/example.jpg)
The Big Question: Are You Eligible? Unpacking the Criteria
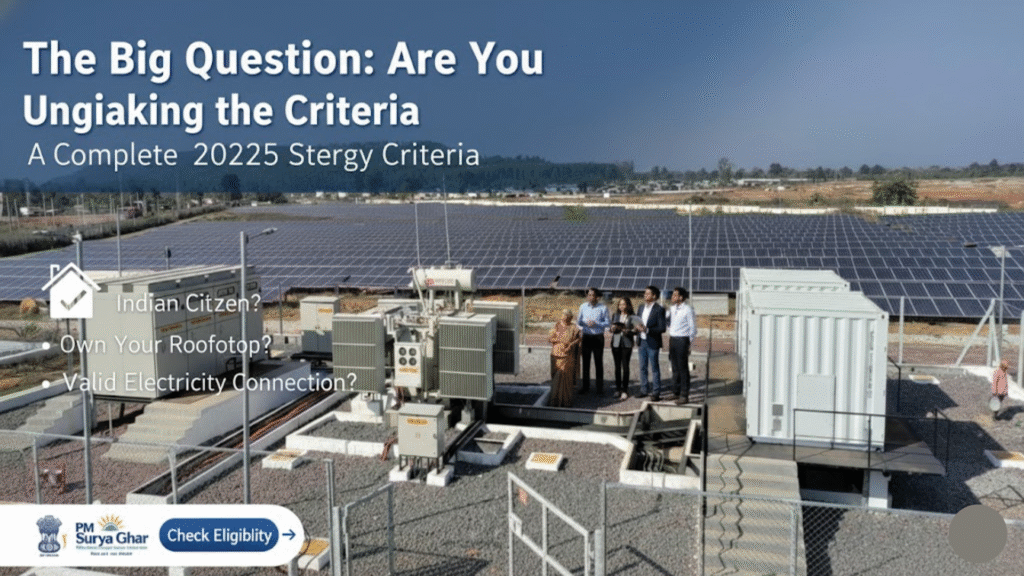
The good news is that the eligibility criteria have been kept straightforward to encourage maximum participation. If you can tick the following boxes, you are likely eligible to apply.
- Indian Citizenship: You must be a citizen of India. This scheme is exclusively for Indian households.
- A Suitable Rooftop: You must own a house with a concrete roof that is structurally sound and suitable for installing solar panels. The roof should receive ample direct sunlight without significant shading from nearby trees or buildings.
- A Valid Residential Electricity Connection: The applicant must have a valid electricity connection from the local Distribution Company (DISCOM) in their name. The electricity bill is a key document.
- No Prior Central Solar Subsidy: You should not have availed any other subsidy for a solar panel system from the central government in the past.
If you meet these criteria, congratulations! You are ready to take the next step.
Your Step-by-Step Guide to Applying Online for the New Solar Policy India (2025 Process)

The government has streamlined the entire process through a single National Portal. This ensures transparency and eliminates the need for running around to different offices. Just follow these steps carefully.
Before You Begin: Documents to Keep Ready for the New Solar Policy India Application
To make the process smoother, have a few things handy:
- Your latest electricity bill (for your Consumer Account Number).
- Your mobile number (for OTP verification).
- Your email address.
- Your Aadhaar Card number.
- Your bank account details and a cancelled cheque (this will be needed later for the subsidy).
Now, let’s begin the application.
1: Initial Registration on the National Portal
- Go to the Official Website: https://pmsuryaghar.gov.in
- Start the Registration: On the homepage, find the “Apply for Rooftop Solar” button and click it.
- Enter Your Details: Select your State (e.g., Rajasthan), your DISCOM (e.g., Jaipur Vidyut Vitran Nigam Ltd – JVVNL), and your Electricity Consumer Number.
- Submit and Verify: Enter your mobile number and email. You will receive an OTP to complete the registration.
2: Logging In and Submitting the Application
- Login to the Portal using your registered mobile number.
- Fill the application form with all required details accurately, including the proposed capacity of the solar plant.
3: Awaiting Feasibility Approval from Your DISCOM
- Once submitted, your application is forwarded to your local DISCOM.
- The DISCOM will conduct a technical feasibility check.
- You can track the status of your application on the portal. Once approved, you will get a notification.
4: Choosing a Vendor and Installing the System
- After approval, you must choose an installer from the list of registered vendors on the portal. This is a mandatory step for subsidy eligibility.
- Sign a formal agreement with the chosen vendor.
- The vendor will complete the installation on your rooftop.
5: Plant Inspection and Net Meter Installation
- After installation, submit the plant details on the portal and apply for a net meter.
- The DISCOM will inspect the installation.
- Upon successful inspection, your old meter will be replaced with a bi-directional “Net Meter.”
6: Commissioning and Subsidy Disbursement
- The DISCOM will generate a “Commissioning Certificate” on the portal.
- Log in and upload a copy of your cancelled cheque and bank details.
- The subsidy amount will be credited directly to your bank account within 30 days.
Understanding the Subsidy Structure Under the New Solar Policy India: How Much Will You Get?
Here is a clear breakdown in a table format:
| System Capacity | Subsidy Calculation | Total Subsidy Amount |
| Up to 2 kW | ₹30,000 per kW | Up to ₹60,000 |
| For the 3rd kW | An additional ₹18,000 | ₹78,000 |
| Above 3 kW | Subsidy is capped at 3 kW | ₹78,000 (Maximum) |
This upfront financial support significantly reduces the initial investment, making solar energy a viable option for a vast number of Indian families.
Frequently Asked Questions (FAQ)
While the process is quite clear, it’s natural to have a few more questions. For this reason, we’ve compiled answers to some of the most common ones.
1. How much roof space do I need for a solar system?
On average, you need about 100 sq. ft. of shadow-free area per kilowatt (kW). For example, a 3 kW system would require approximately 300 sq. ft.
2. What is the total cost of a solar system after the subsidy?
The cost varies based on the vendor and quality. A typical 3 kW system might cost around ₹1.3 to ₹1.5 lakh. As a result, after the ₹78,000 subsidy, your net cost would be in the range of ₹52,000 to ₹72,000.
3. Can I get a loan for the remaining amount?
Yes, absolutely! The new solar policy promotes easy financing. In fact, the government has directed banks to offer collateral-free, low-interest loans for the remaining amount.
4. What happens if my solar panels generate more electricity than I use?
This is the magic of net metering. Consequently, at the end of your billing cycle, the DISCOM adjusts the units you exported against what you imported, and you only pay for the “net” consumption.
Final Thoughts: A Brighter Future is on Your Roof
In conclusion, the PM Surya Ghar Yojana is a truly transformative opportunity. By following the steps outlined above, you can navigate the application process with confidence. Ultimately, this isn’t just about reducing your electricity bill; it’s about investing in a secure future for your family and contributing to a cleaner, greener India.
