For many homeowners, the journey to solar power is exciting, but often shrouded in confusion. You know you want the benefits—lower bills, energy independence, and a smaller carbon footprint—but the question remains: What exactly does the PV panel installation process involve?
At its core, switching to solar is a straightforward project, but it requires careful planning, technical expertise, and adherence to local regulations. Our goal is to make the entire process clear, transparent, and hassle-free for you.
We’ve broken down the solar installation journey into seven distinct phases. By understanding these steps, you can feel confident, informed, and in control of your transition to clean energy.
Phase 1: PV Panel Installation Consultation & Site Assessment
This is the foundation of your entire solar project—a time for listening, learning, and detailed technical analysis.
The process begins with an Initial Consultation where we discuss your current energy usage, future needs (like charging an electric vehicle), and your financial goals. We use your past 12 months of electricity bills to establish a baseline for your system size.
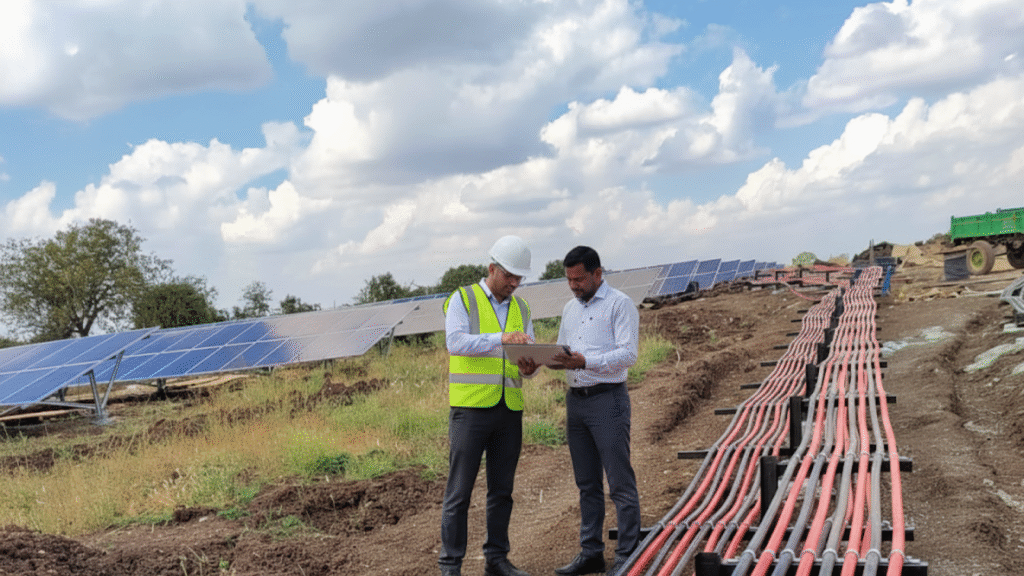
Next comes the Site Assessment, where our certified technicians visit your property to gather critical data.
Key Checks During the Site Assessment:
- Roof Integrity and Condition: We assess the roof’s age, material (shingles, tile, metal), and structural capacity to ensure it can safely support the system for its 25-year lifespan.
- Shading Analysis: Using specialized tools, we meticulously map out any shading from trees, chimneys, or nearby structures throughout the year. Minimal shading is crucial for optimal performance, and this dictates the type of inverter technology we recommend.
- Electrical System Review: We inspect your main electrical service panel to confirm its capacity and proximity to the planned inverter location, ensuring a safe and code-compliant connection.
This initial phase is vital because it determines the most efficient design and provides the first realistic estimate of your PV panel installation cost.
Phase 2: Customized PV Panel Installation Design & Proposal
Based on the site data gathered, our engineering team designs a system optimized specifically for your home and lifestyle.
What Makes Our Design Unique?
- Sizing: We calculate the exact system size (in kW) needed to offset your energy consumption, often aiming for 100% offset to eliminate your electricity bill.
- Equipment Selection: We select the best-in-class components, including high-efficiency Monocrystalline PV panels and the appropriate inverter (string or micro-inverters).
- Aesthetic Layout: We prioritize panel placement that maximizes energy capture while maintaining your home’s curb appeal.
This design is presented to you in a comprehensive Financial Proposal.
| Component | Purpose & Value | Homeowner Benefit |
| Total System Cost | Detailed breakdown of equipment, labor, and permits. | Complete financial transparency. |
| Energy Offset (%) | The percentage of your current bill the system will cover. | Guaranteed savings projection. |
| ROI and Payback Period | Time until savings equal the initial investment (typically 3 to 7 years). | Clear financial justification. |
| Incentives & Rebates | Calculation of the Federal Solar Tax Credit and state/local subsidies. | Maximize investment return. |
Phase 3: Permits, Interconnection Agreements, and Approval
Once you approve the design and sign the contract, we handle all the bureaucratic work—a step that requires patience but ensures your system is legal and safe.
We take on the responsibility of applying for all necessary paperwork:
- Building Permits: Required by local municipal authorities for the construction work on your roof.
- Electrical Permits: Mandated by electrical inspection bodies to ensure wiring safety.
- Utility Interconnection Agreement: This is the most critical step, securing permission from your utility company to connect your system to the electrical grid and participate in Net Metering.
Note: This phase often takes the longest—anywhere from 4 to 8 weeks—as timelines are dependent on local government and utility processing speeds. We monitor every application daily to expedite the process.
Phase 4: Equipment Procurement and Logistics
Once all permits are secured, your customized equipment is ordered and delivered to your home. We manage all logistics to ensure all components are ready for the installation date.
We only source Tier-1 solar panels and inverters that come with robust, long-term manufacturer warranties. Before installation day, our crew will confirm the delivery, ensuring all parts are accounted for and undamaged, minimizing any on-site delays.
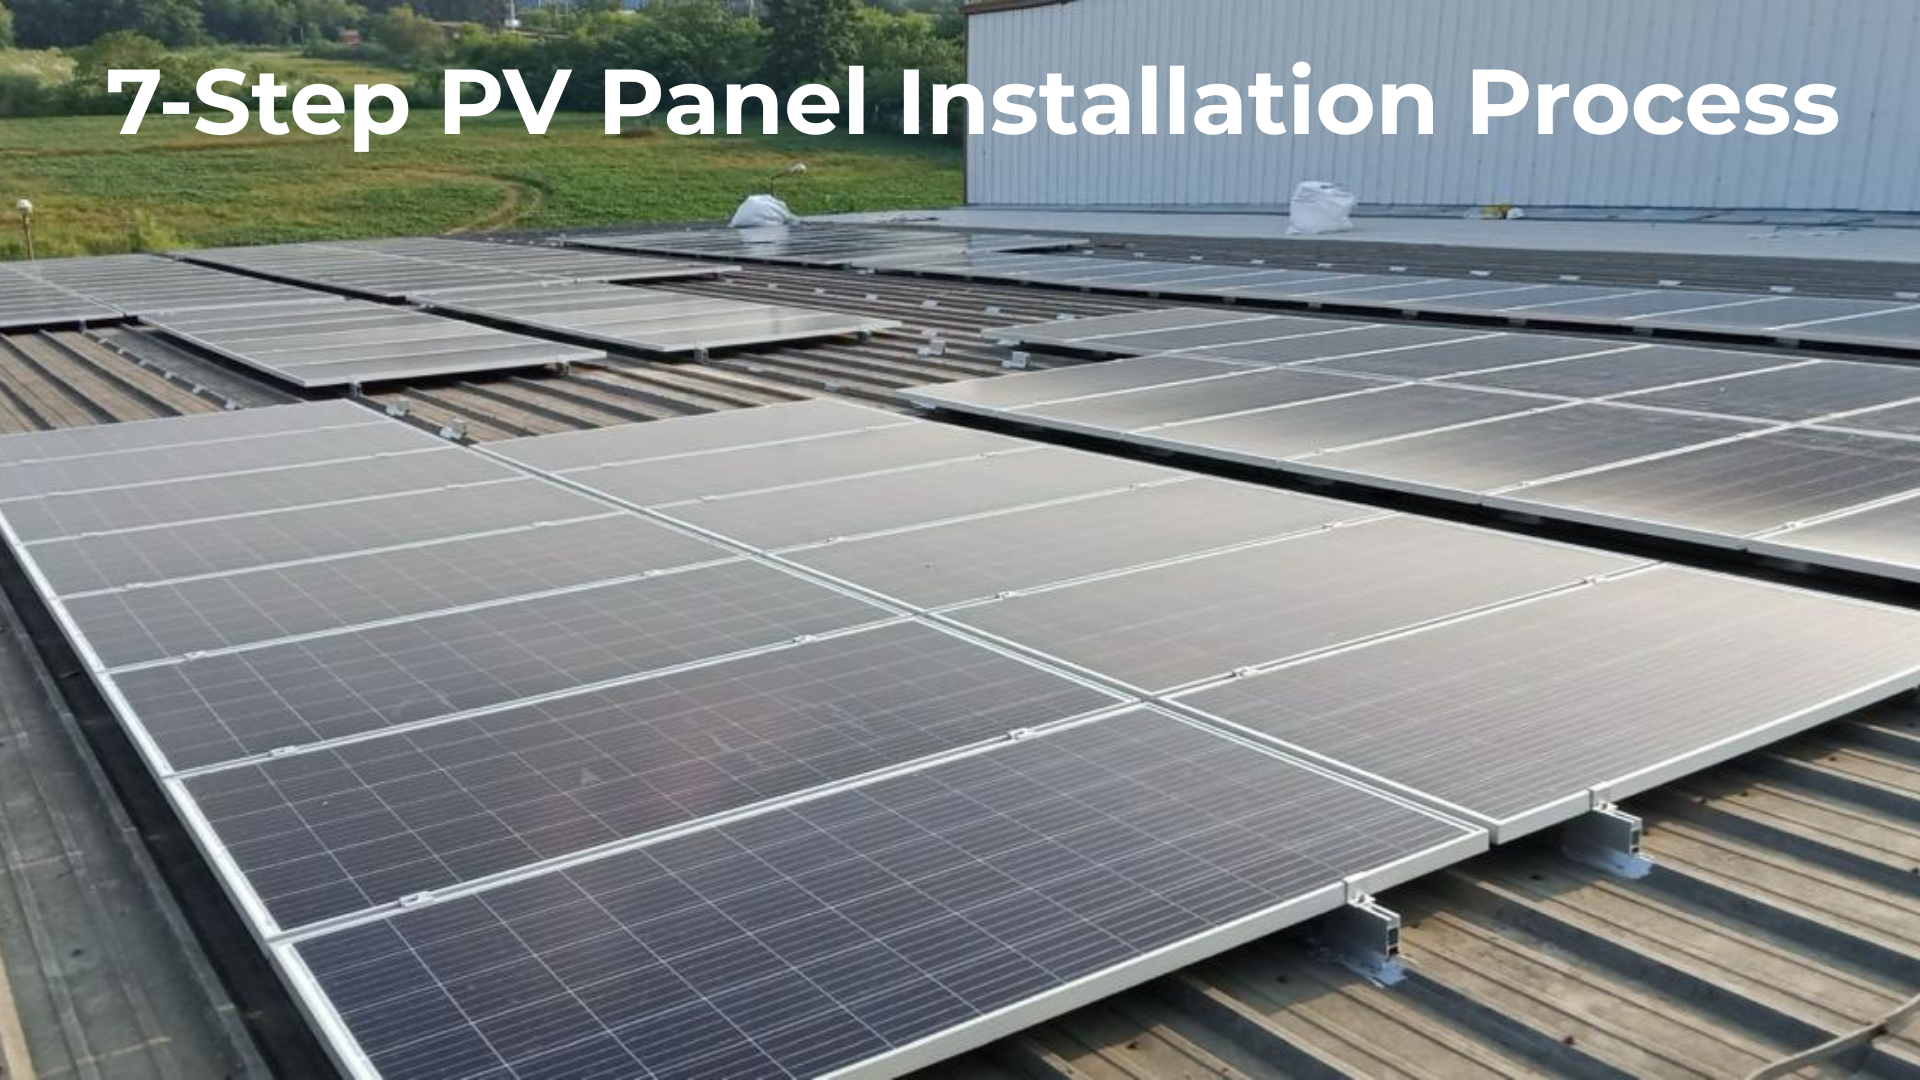
Phase 5: The Physical Installation Day

The exciting part! With permits in hand and equipment on site, our certified installation crew gets to work. While the entire project may take weeks, the physical installation itself is remarkably fast, often completed in one to three days.
The Core Steps on Your Roof:
- Racking System Setup: The aluminum or steel racking rails are secured to the roof structure using specialized flashing and sealants to prevent water intrusion and ensure the system can withstand high winds.
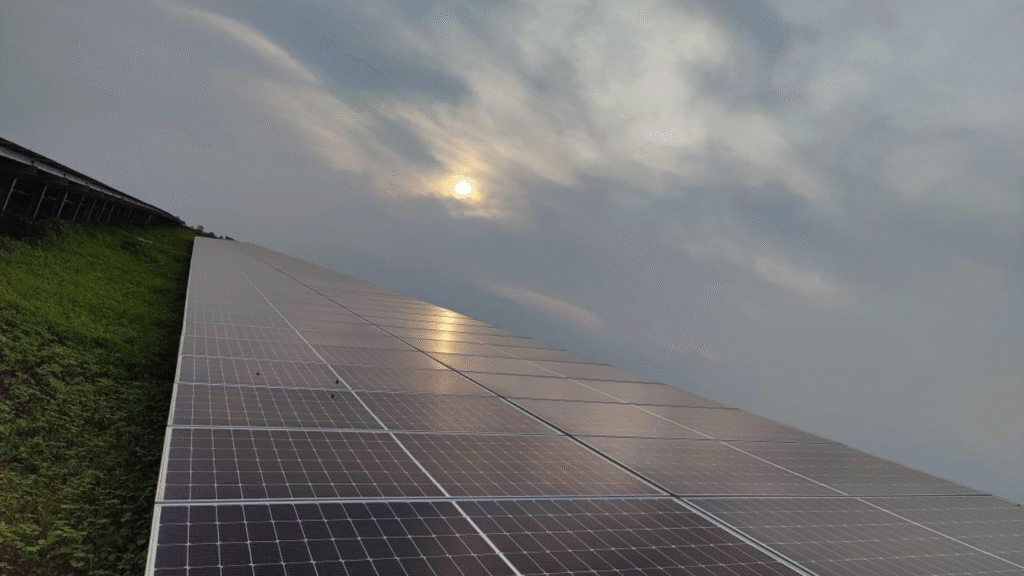
- PV Panel Mounting: The solar panels are carefully lifted and fastened to the racking system. Correct alignment and pitch are verified to guarantee maximum sun exposure.
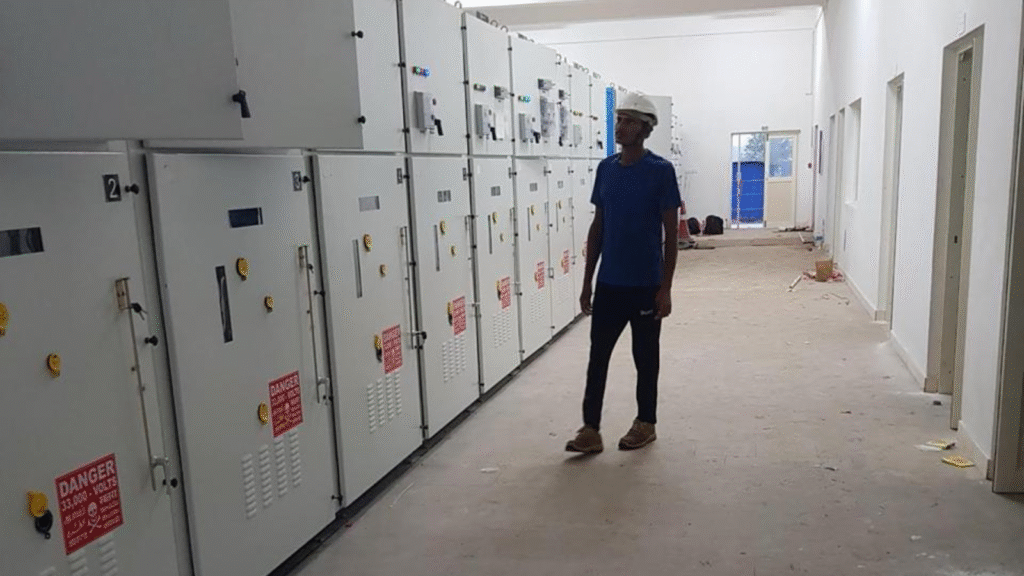
- Electrical Wiring & Inverter Setup: The DC wiring from the panels is routed to the central Solar Inverter (or connected to micro-inverters located beneath each panel) to begin the process of converting raw solar energy into usable AC power for your home.
Phase 6: Inspections and Net Meter Installation
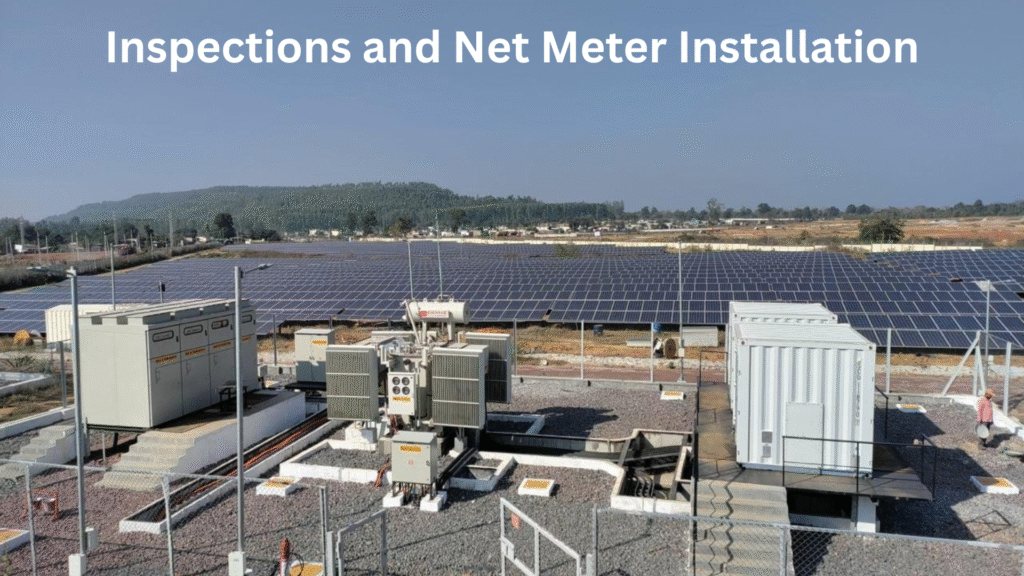
Installation complete, but the power switch remains off until two final, crucial safety and regulatory steps are satisfied.
- Official Inspection: A city or county electrical inspector visits the site to verify that the PV panel installation meets all local building and electrical codes. This inspection confirms the system’s safety and compliance.
- Utility Interconnection: After passing inspection, the utility company arrives to replace your old meter with a new, Bi-directional Net Meter. This device tracks both the energy you pull from the grid and the excess energy you send back.
Phase 7: System Activation and Monitoring
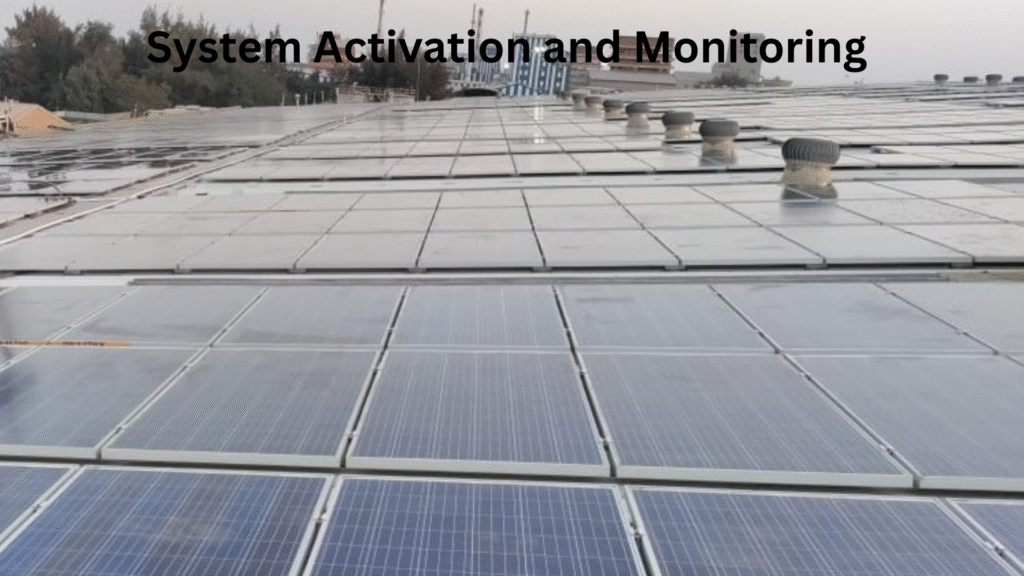
The moment you’ve been waiting for! Once the utility company grants Permission To Operate (PTO), we flip the switch.
Your home is officially powered by the sun. We provide a thorough walk-through on how to use your Monitoring System—usually a mobile app—that allows you to track, in real-time:
- Daily Energy Production (kWh)
- Lifetime Environmental Impact (CO2 offset)
- Financial Savings
You are now generating your own clean electricity, sending surplus power back to the grid, and watching your electricity meter spin backward.
Frequently Asked Questions (FAQs) about PV panel installation
Q1: Will PV panel installation damage my roof?
A: When performed by a professional and experienced installer, no. Modern racking and mounting systems are engineered to be water-tight. We drill minimal, sealed holes into the structural rafter beams, not through the roof tiles themselves, ensuring the roof’s structural and waterproofing integrity is preserved.
Q2: How long do solar panels last?
A: The standard in the industry is a 25-year performance warranty, guaranteeing the panels will still produce at least 80-85% of their rated capacity after two and a half decades. The panels often continue generating power well beyond that timeframe.
Q3: What if the system produces more power than my home uses?
A: That excess power is the key to solar savings! Under the Net Metering program, the surplus energy is sent back to the utility grid, and you receive monetary credits for it. These credits are used to offset any energy you consume at night or on cloudy days, often resulting in a net-zero or near-zero electric bill.
Q4: Is financing available for the PV panel installation cost?
A: Yes, there are several options. Most homeowners choose a Solar Loan (similar to a home improvement loan) to purchase the system outright and maximize savings and tax benefits. Leasing and Power Purchase Agreements (PPAs) are also options, though they typically offer lower long-term financial returns.
Ready to Start Your Solar Journey?
The PV panel installation process is a well-oiled machine designed to maximize your efficiency and minimize your effort. By choosing a partner who manages these seven steps with expertise and transparency, you can rest easy knowing your investment is secure.If you are ready to move from consultation to activation and want a dedicated team to manage every permit and wire, contact us today for a free, no-obligation site assessment!