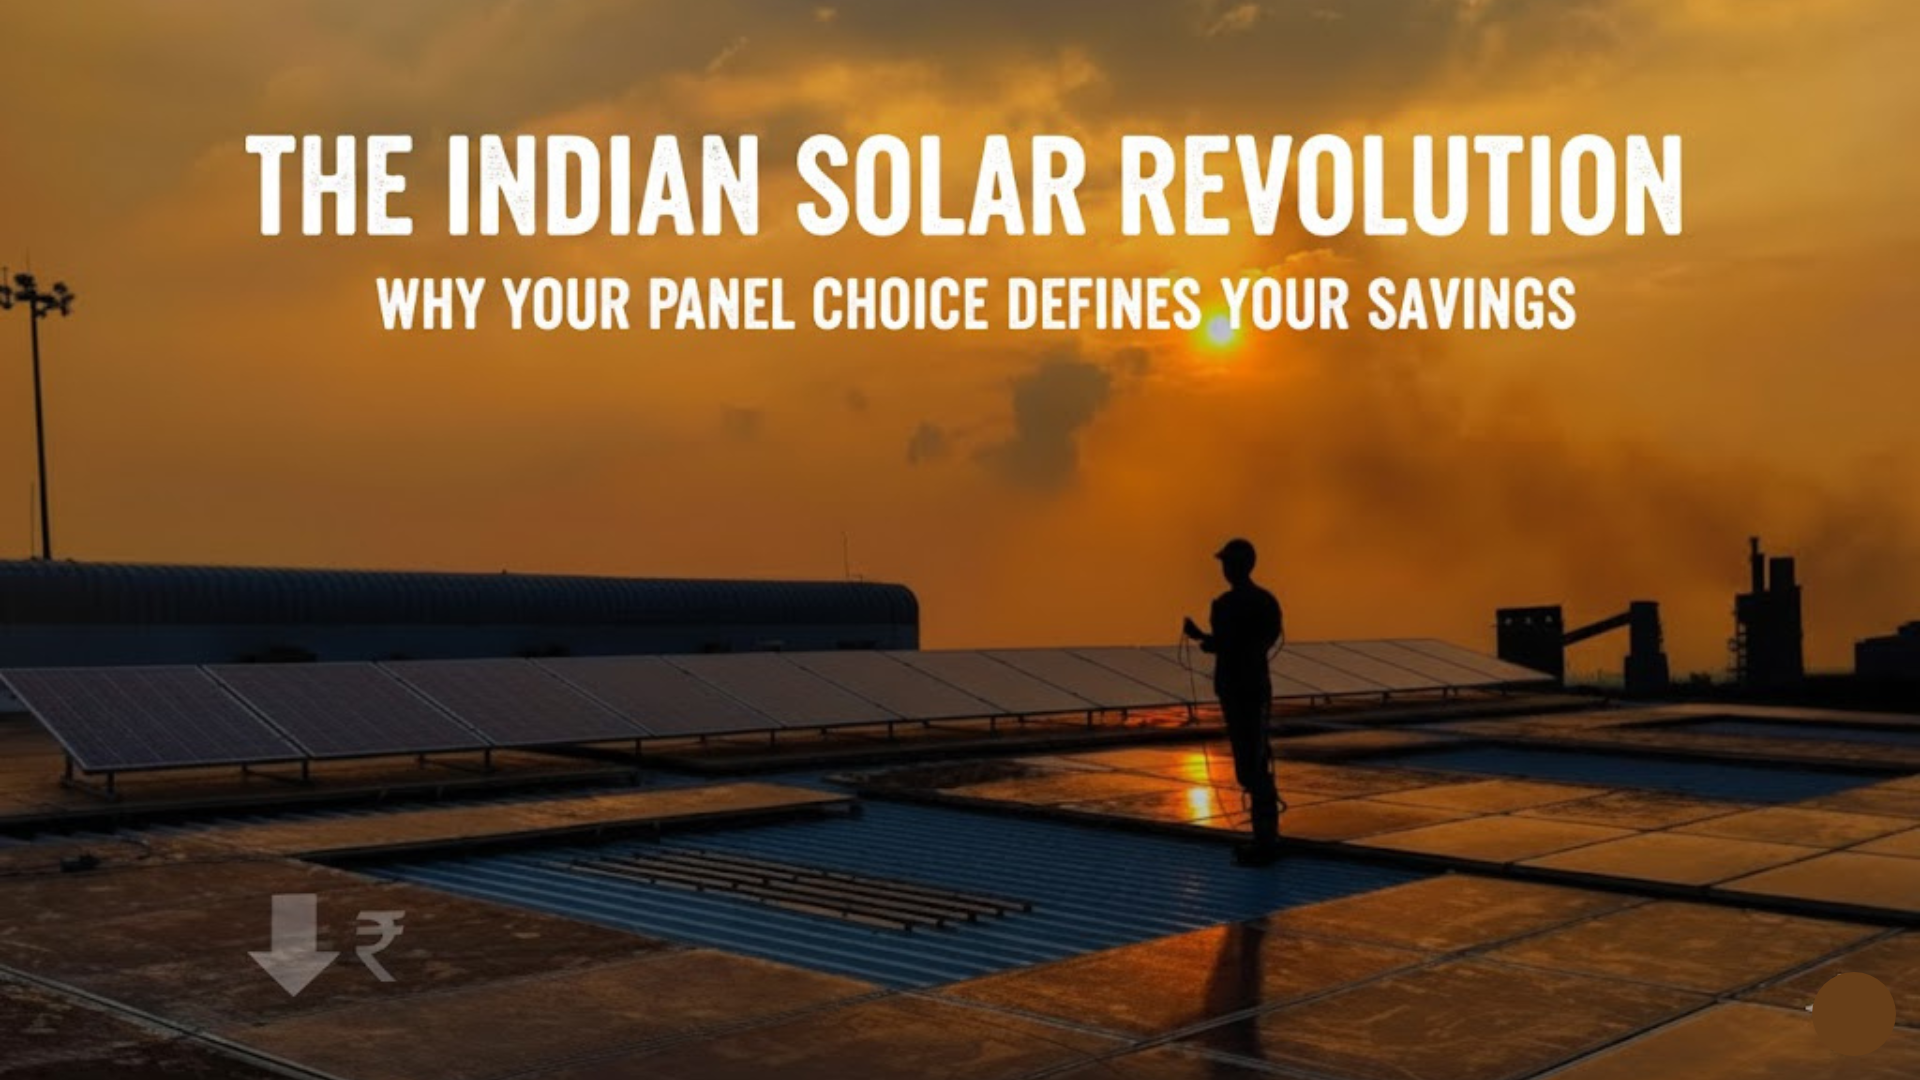
Thinking about making the switch to solar? That’s a fantastic step toward a cleaner, more sustainable future for your home. But before you jump right in, a little preparation goes a long way. Installing solar panels for your home is a significant decision and a major investment. You want to make sure it’s done right, so you can enjoy the benefits for decades to come.
This ultimate checklist will guide you through every critical step, helping you avoid common mistakes and ensuring your solar journey is smooth, successful, and financially sound. We’ll cover everything from your initial research to the final installation and beyond
Phase 1: Self-Assessment and Energy Evaluation Before Installing Solar Panels for Home
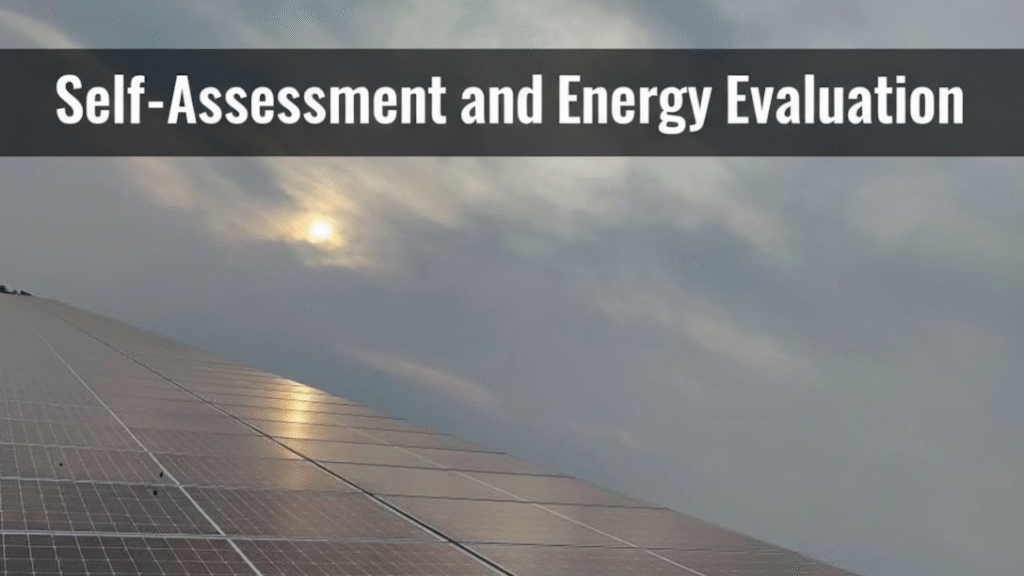
Before you even talk to a single solar company, you need to understand your own home and energy consumption. This groundwork is crucial for getting a perfectly sized system and an accurate quote.
Key Steps:
- Analyze Your Electricity Usage: Find your historical usage data in kilowatt-hours (kWh) for at least 12 months. This data will help solar companies accurately size a system that meets your needs. Without this, any quote is just an educated guess.
- Inspect Your Roof’s Condition: Your roof is the foundation for your solar panels. It needs to be in excellent condition with at least 10-15 years of life left.
- Assess Your Roof’s Solar Potential: Is your roof getting enough sunlight? Look for any large trees, tall buildings, or other obstructions that might cast a shadow, especially between 9 a.m. and 3 p.m.
Phase 2: Financial Planning and Research for Solar Panels for Home
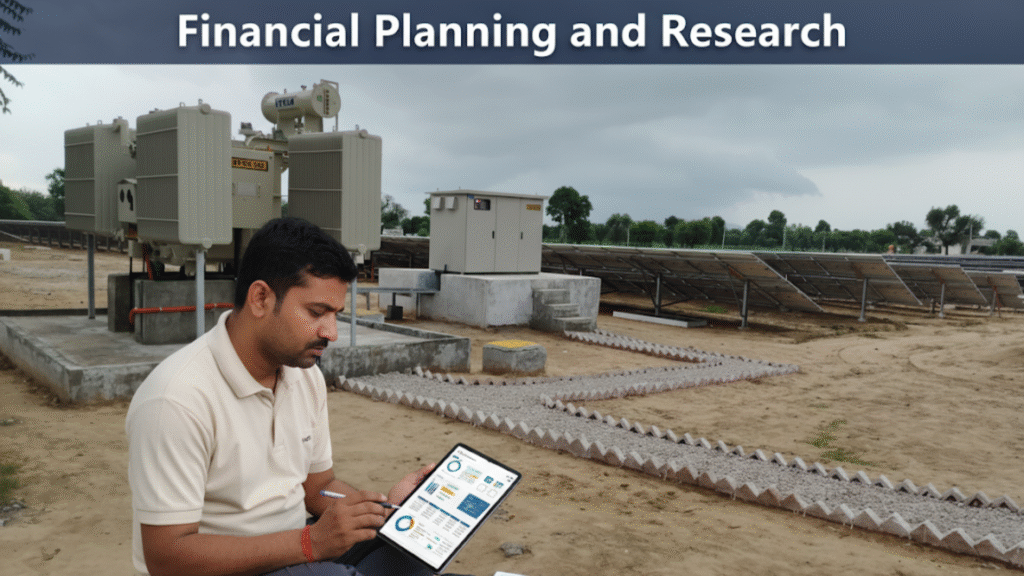
Now that you know your needs, it’s time to explore your options and find the best financial plan for you. This phase is about being a smart and informed consumer.
Financing Options
| Option | Pros | Cons |
| Outright Purchase | Full ownership, best long-term ROI, access to all incentives. | High upfront cost. |
| Solar Loan | You own the system, fixed monthly payments, can be a great investment. | Interest payments may add to the total cost. |
| Solar Lease | Low to no upfront cost, maintenance is handled by the company. | You don’t own the system or the incentives, tied to a long-term contract. |
Important Research Points:
- Explore All Solar Incentives and Rebates: Don’t miss out on savings! In India, government initiatives like the PM Surya Ghar Muft Bijli Yojana can provide substantial subsidies.
- Get Multiple Quotes: Never settle for the first quote you get. Contact at least three different reputable solar installers to compare prices, equipment quality, and warranties.
Phase 3: Choosing the Right Partner and Equipment
The company you choose will be your partner for this entire journey. Picking the right one is as important as choosing the right panels.
Key Questions to Ask a Solar Installer:
- What brands of panels and inverters do you use? (Look for Tier 1 brands with a strong reputation.)
- What kind of warranties do you offer? (A good system will have a 25-year product warranty and a 10-year workmanship warranty.)
- Can you show me a portfolio of your previous work or provide references? (A trustworthy company will be happy to show off their work.)
- Are your installers certified and licensed? (This ensures they follow safety and quality standards.)
- Do you handle all the permits and paperwork? (This can be a complex process, so make sure they take care of it.)
Phase 4: Pre-Installation and Paperwork
Once you have made your decision, the final phase is about preparing for the installation and ensuring all legal requirements are met.
Your Checklist for the Final Phase:
- Review the Final Contract Carefully: Before you sign anything, read the contract in its entirety. Make sure all the details you discussed—from the system size to the equipment brands and total cost—are explicitly mentioned.
- Verify Your Net Metering Agreement: Confirm with your utility company that you are eligible for and have applied for a net metering connection. This is how you get credit for any excess power your system generates.
- Prepare for Installation Day: Make sure your property is ready, with clear access to the roof and the area where the inverter will be installed.
Frequently Asked Questions (FAQs)
Q: How long does it take to install solar panels for a home?
A: The actual installation typically takes 1 to 3 days, depending on the size and complexity of the system. The entire process, including paperwork, permitting, and inspections, can take several weeks to a few months.
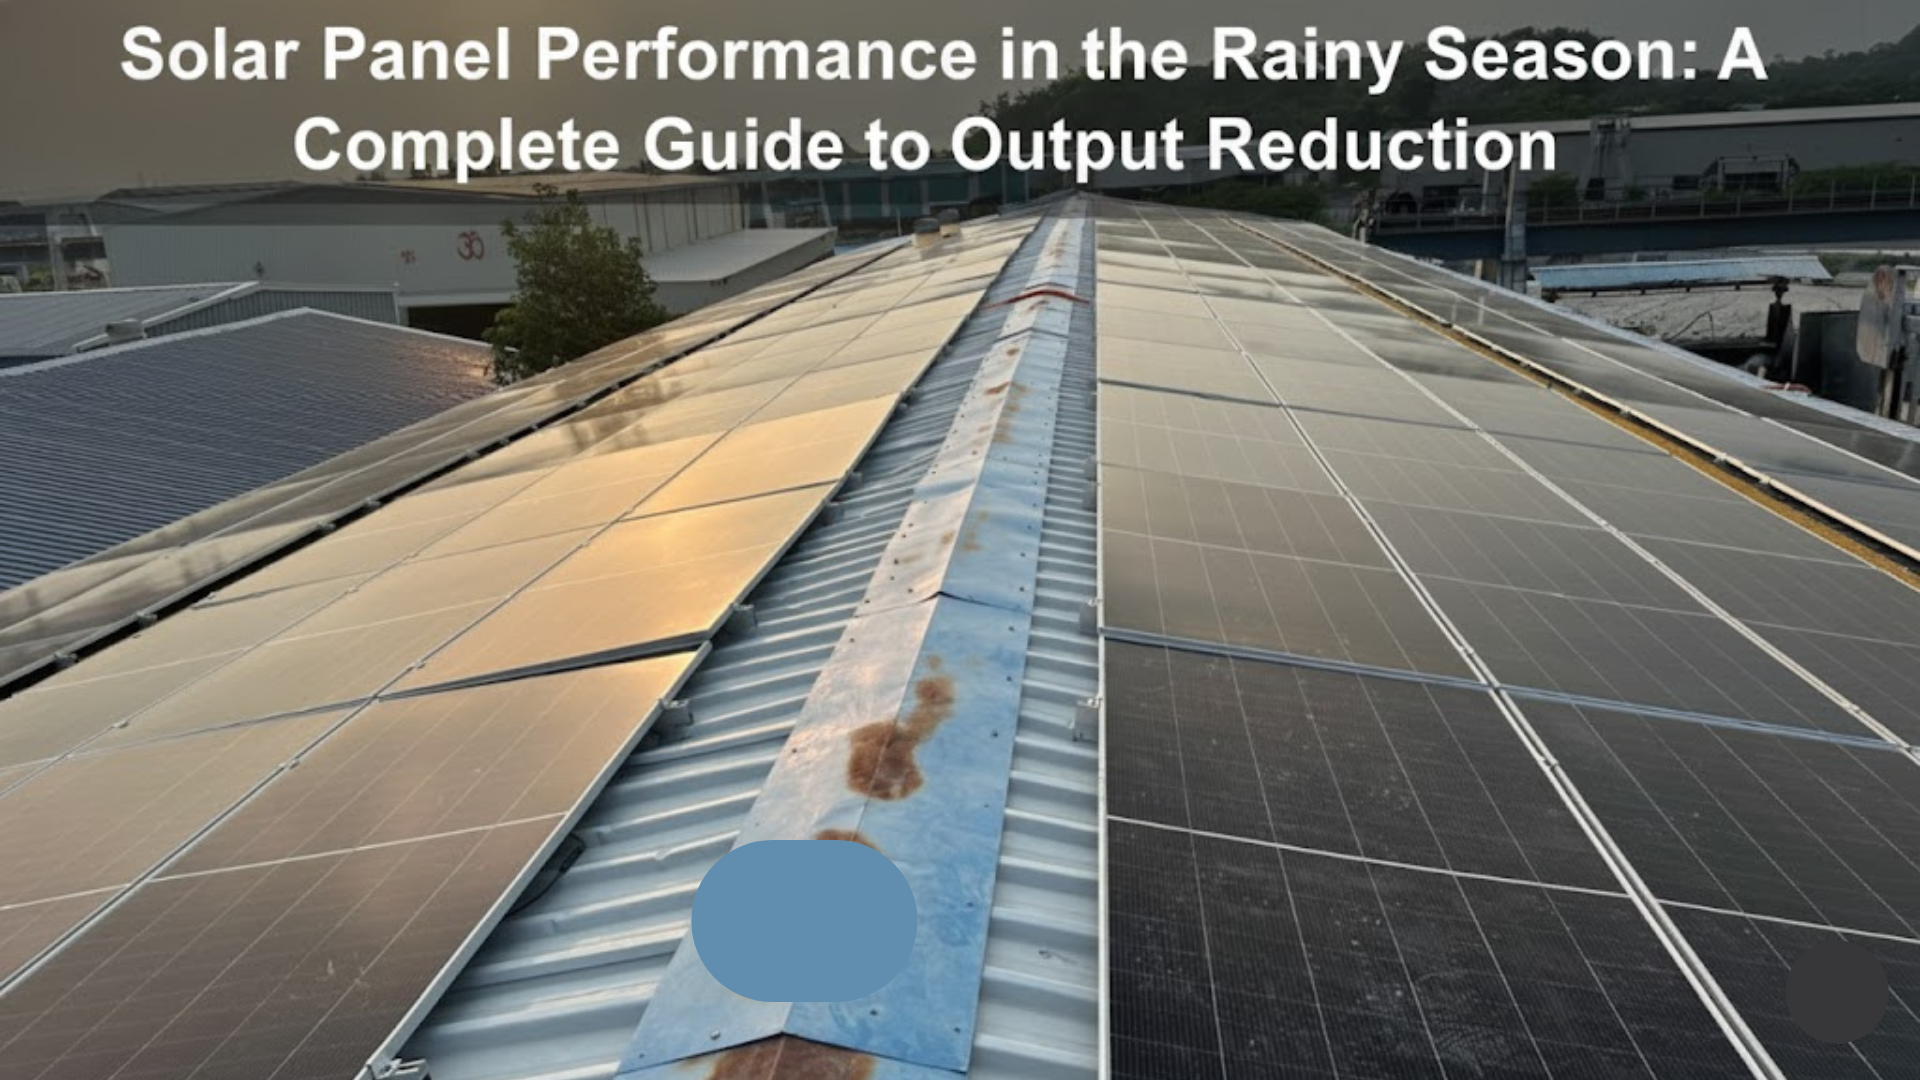
Q: Are solar panels expensive to maintain?
A: No, solar panels are very low-maintenance. The main task is to keep them clean to ensure maximum efficiency. In most climates, rain can help wash away dust and dirt. You may only need to clean them a few times a year.
Q: Will solar panels increase my home’s value?
A: Yes, studies have shown that homes with solar panels can sell for more and spend less time on the market than homes without them.
Q: What happens if there’s a power outage?
A: Most standard solar systems are connected to the grid and will automatically shut down during a power outage to protect utility workers. If you want power during an outage, you would need to install a solar battery storage system in addition to your panels.
Final Thoughts
Taking the time to complete this checklist might seem like a lot of work, but it’s the absolute best way to ensure your investment in solar panels for your home is a smart one. By doing your homework, you can confidently choose a system that meets your energy needs, fits your budget, and provides you with clean, reliable power and significant savings for years to come.